Are you a beginner or an experienced photographer looking to showcase your work online? With the right tools, building an engaging photography website can be easier than you think. Using the Divi theme, you can create a beautiful portfolio website to show off your best shots and attract new customers and fans.
This step-by-step guide will show you how to build a stunning photography website with Divi, from setting up hosting and installing the theme to adding content and customizing your site. With a few simple steps, you’ll be able to create a website that expresses your style and helps you reach a wider audience. So, what are you waiting for? Let’s get started building your photography website with Divi.
What is the Divi Theme?
The Divi theme is an all-in-one WordPress theme designed for use by designers and developers. The Divi theme comes with a drag-and-drop builder that lets you quickly and easily edit your website’s design. Divi is great for photographers because the theme comes with built-in features that are useful for showcasing your work, including a portfolio gallery, one-click image licensing, and custom image and video widgets.
The Divi theme is also regularly updated with new features and has a strong online community that can help you get the most out of the theme. The Divi theme is compatible with both WordPress and WordPress.com, which makes it easy to set up your site on your own server or use WordPress’ free hosting service. The Divi theme also comes with free lifetime updates, so you’ll always have access to the latest version of the theme. You can purchase the theme from Elegant Themes, which offers the Divi theme for $89 for a one-year license or $249 for a lifetime license. Divi also offers a 30-day money-back guarantee, so you can test the theme risk-free.
Benefits of using Divi for a photography website
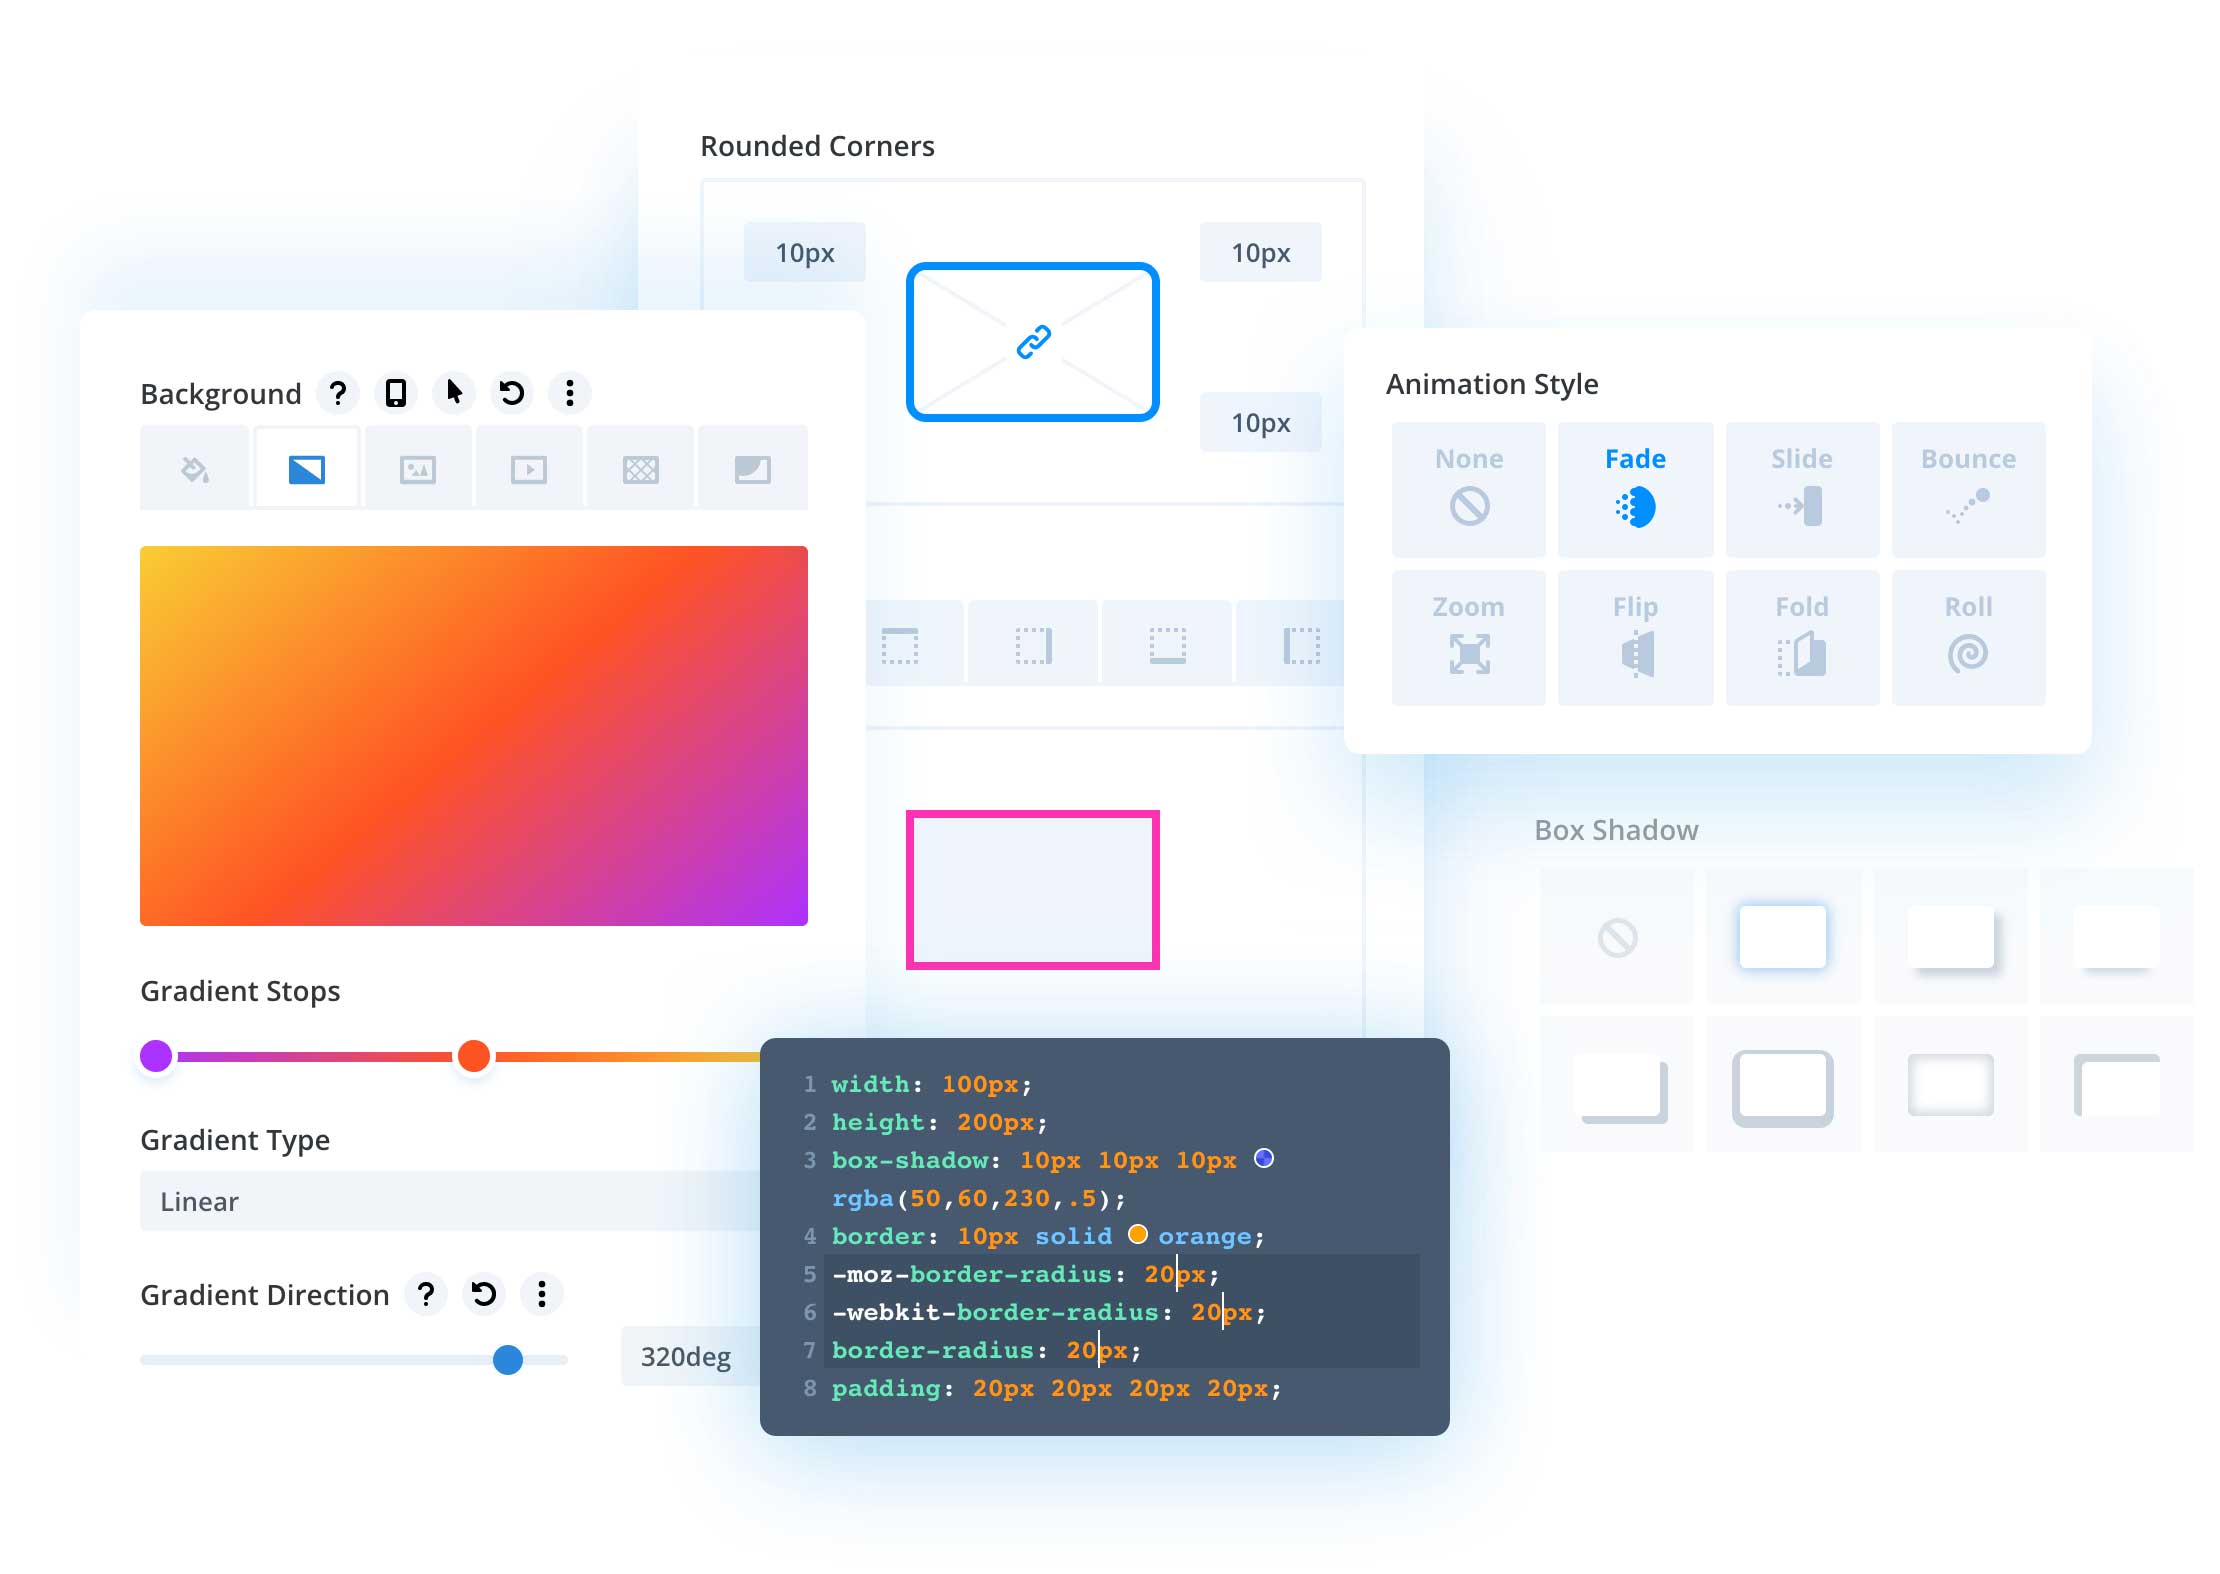
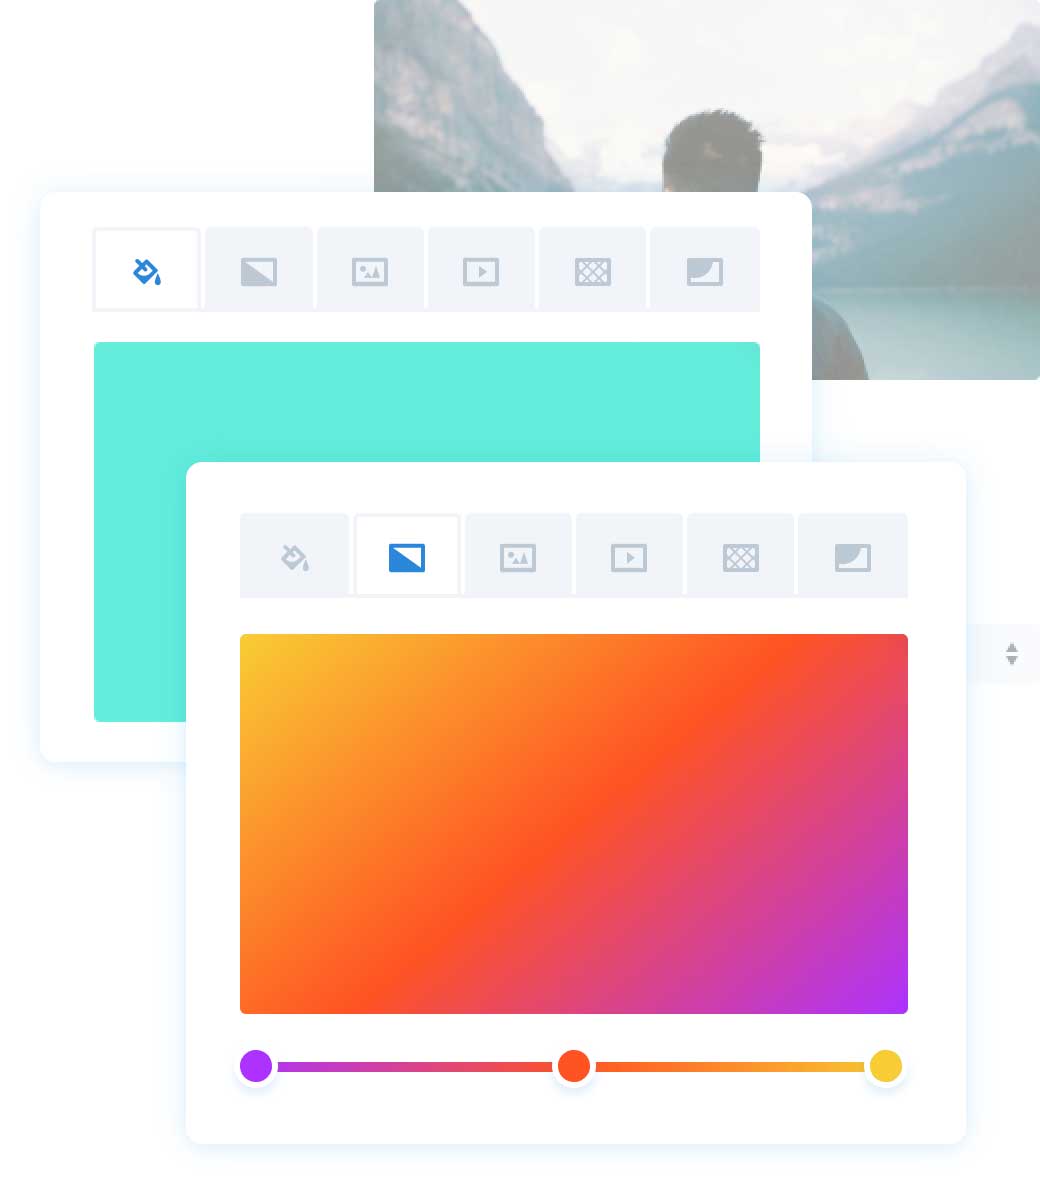
– Easy to use and customize – The Divi theme is incredibly easy to use. The drag-and-drop builder lets you customize your site’s design without any coding experience and a large library of pre-made Divi modules and designs help you add engaging content and functionality to your site, such as image sliders, call-to-action buttons, and testimonials.
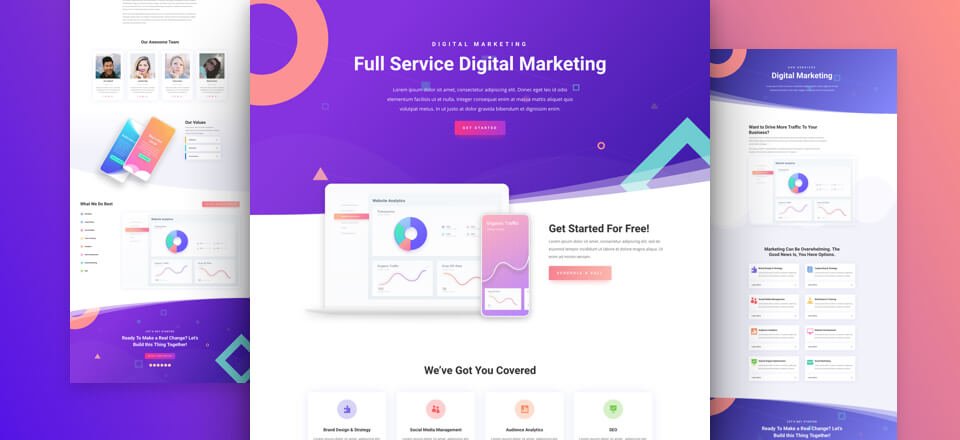
– Full-width layout – A full-width layout is a must for showcasing your photography, and Divi’s built-in full-width layout works with any visual content. With a full-width layout, your photos will be the focus, and the content around them can be changed as often as you like.
– Mobile-friendly design – Divi’s responsive design automatically adjusts to different screen sizes and makes your site look great on mobile devices. You also have the option of creating a separate mobile design if you want a different visual experience for mobile users.
– Free lifetime updates – Divi is updated with new features and improvements every few months, and you’ll have access to every new version for free, for life.
Choosing a hosting provider and setting up a domain name
When you build a website, you’ll need to set up hosting. Hosting is an internet service that provides servers for your website’s files and lets people visit and interact with your website. Ideally, you should choose a hosting provider that offers managed WordPress hosting. Managed WordPress hosting offers an easy way to set up a WordPress website, and many hosting providers offer either free or discounted WordPress plans. If you’re building your site on WordPress.com, you won’t need to worry about hosting, as all of WordPress.com’s plans come with free hosting.
Once you’ve decided on a WordPress hosting provider, you’ll need to pick a domain name. A domain name is the web address associated with your website. For example, the domain name for this article is thephotographersblogger.com. Domain names are important because they make your website easier to find and remember. Generally, you’ll need to register a new domain name, but if you choose a unique name, there’s a chance it’s already taken. If this happens, you can try purchasing the domain from the owner with a domain name registrar like GoDaddy or Name.com. You can also use a domain name generator to see if there are any available domain names that suit your needs.
Installing and activating the Divi Theme
Once you’ve signed up for a hosting provider and bought a domain name, you’re ready to install the Divi theme. First, you’ll need to download the Divi theme from Elegant Themes. Once you’ve downloaded the Divi theme, unzip the file and copy the theme folder to your computer’s desktop. Next, log in to your WordPress dashboard. Click “Appearance” and then “Themes.” Click “Add New” and you’ll be taken to the WordPress Theme Installer.
The WordPress Theme Installer allows you to install and activate the Divi theme and other WordPress themes. Click “Upload” and select the Divi theme folder on your computer. Click “Install” and once the theme is activated, click “Activate.” If you visit your website, you’ll notice a “build preview” message in the upper right corner. This message indicates that your site is using the Divi theme but has not been customized yet.
Adding content to your photography website
Now that your Divi theme is activated and the “build preview” message is gone, it’s time to add content to your website. You can add a variety of content to your photography website, including blog posts, portfolio items, and contact information. If you need inspiration for what to add to your site, here are a few ideas:
– Blog posts – Include a few blog posts about your photography or related topics. You can also use your blog to promote your photography and ask for new clients.
– Photos – Add photos from your portfolio, behind-the-scenes photos from shoots, or photos of your studio or other photography-related images.
– Videos – Publishing videos on your photography website is a great way to engage your audience. You can share behind-the-scenes videos from shoots, host Q&As, or create tutorials.
– Portfolio – Create a portfolio section on your website and use the built-in Divi Portfolio module to display your work. You can also use Divi’s built-in licensing module to display the terms of use and link to your image usage policy.
Customizing the design of your website with Divi
Now that your website has some content, it’s time to customize the design. Divi comes with a wide range of custom design settings, allowing you to adjust the fonts, colors, and other elements of your website’s design. To customize your design, click “Design” in your WordPress dashboard. Under “Header” and “Footer,” you’ll find a selection of premade designs. Click “Customize” to modify the design, or click “Save and New” to create a new design. You can also edit the design by clicking “Custom” under “Layout,” “Colors,” “Typography,” and “Custom CSS.” If you’re new to WordPress code, you can use the built-in Divi Builder to add code to your website without touching a single line of code.
Optimizing your photography website for SEO
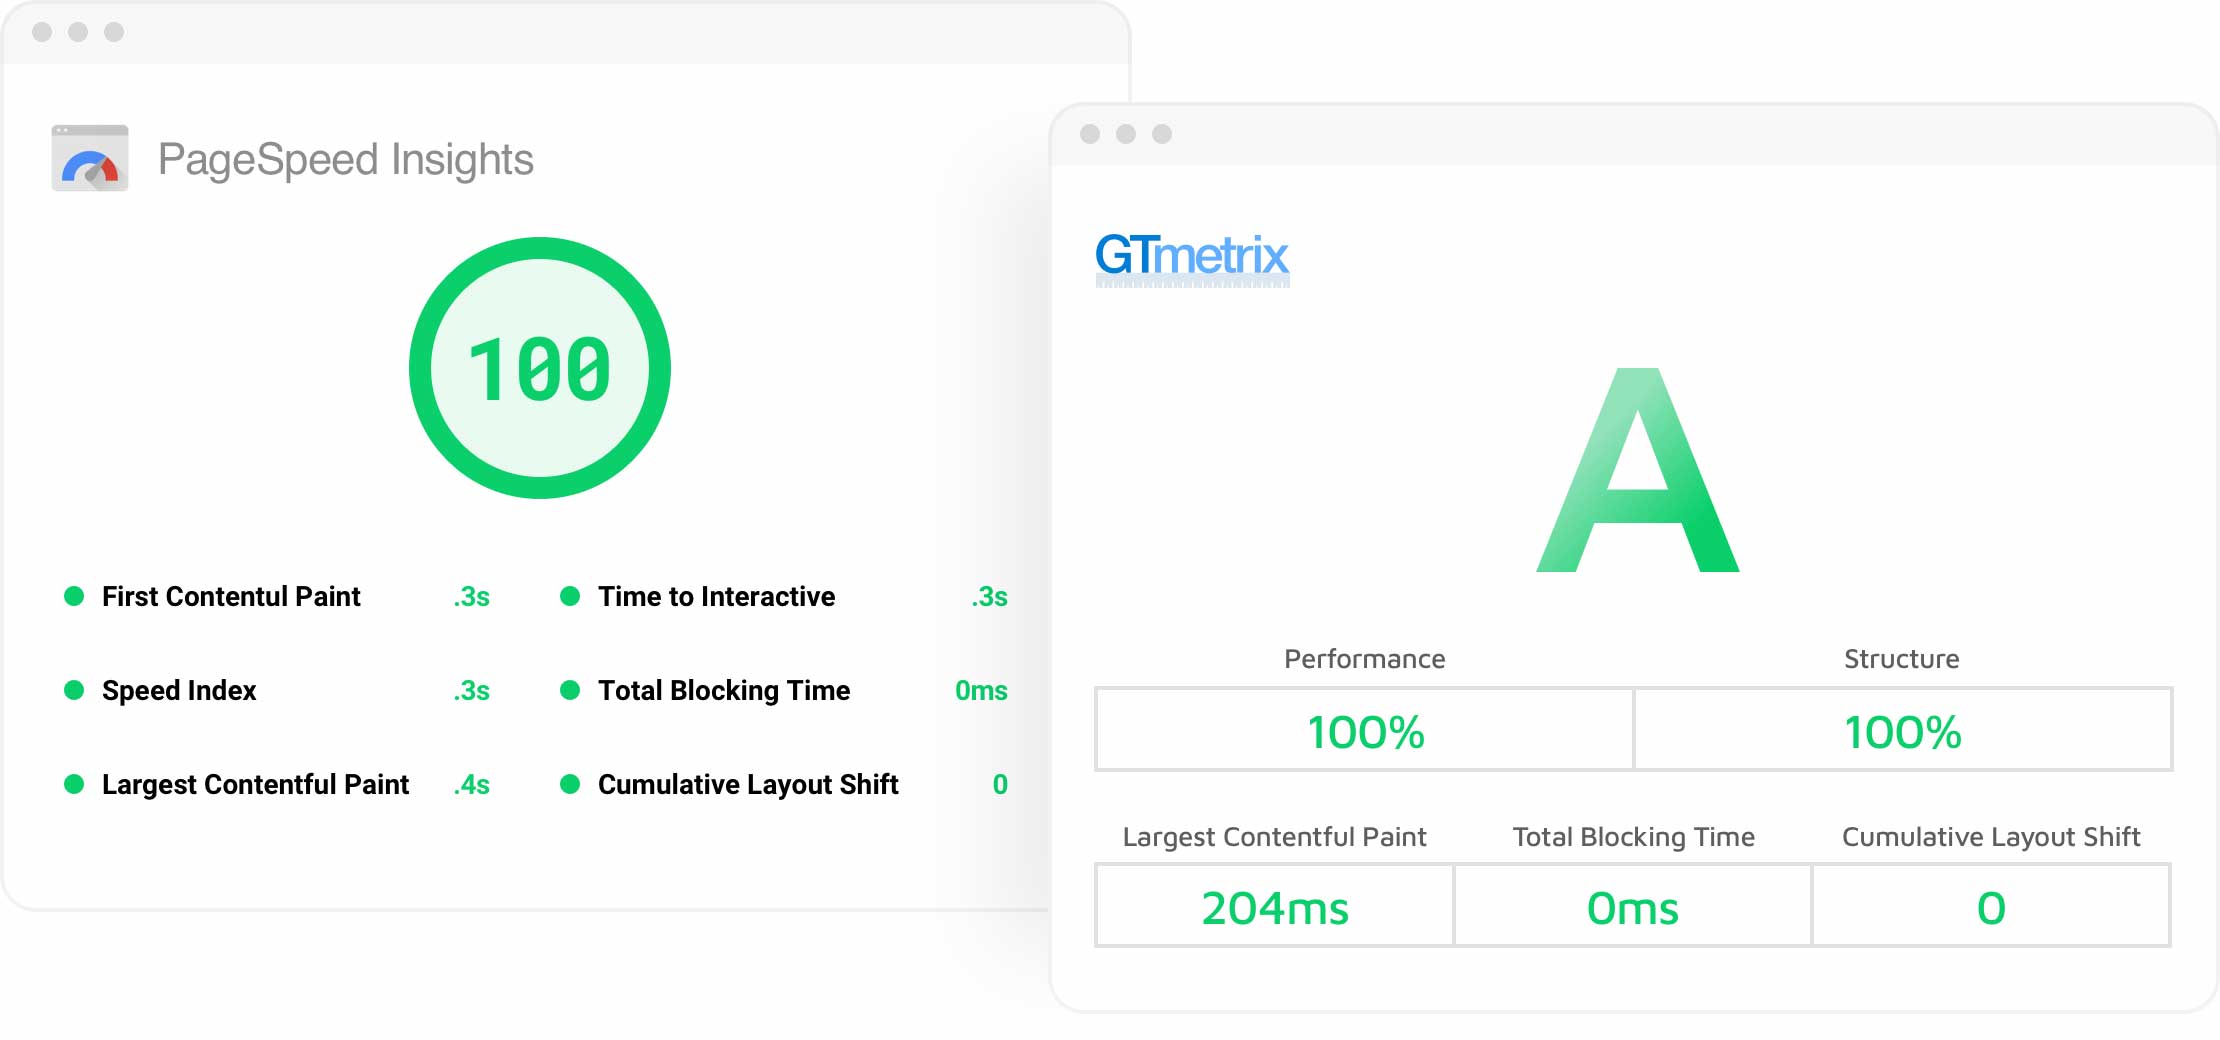
Search engines such as Google play a crucial role when it comes to building an online presence. The best way to get your photography business noticed is to optimize your site for search engines. With the right tools and techniques, you can easily boost your website’s search engine rankings. With Divi, you get access to a robust SEO feature that makes it easy for you to optimize your photography website for search engines. With the SEO feature, you can optimize your website title, description, and keywords, so that your site shows up on top in search engine results. You can also edit your sitemap and use Google Analytics to track how many visitors your site gets. With SEO, you can create a photography website that’s easily accessible to potential customers and clients.
Promoting your photography website
Building a website is just the first step toward building a successful photography business. Once you’ve created your website, the next step is to promote it and get it in front of your target audience. The best way to increase your website traffic and get more clients is by promoting your site on various social media and marketing channels. With Divi, you can easily promote your photography website across various social media channels and channels such as Facebook, Instagram, and Pinterest. You can add your website link in your bio and posts, or you can create graphics with your website link. With social media, you can start conversations with potential clients and get them interested in your photography business. With enough promotion, you can get your photography website more traffic and potential customers.
Conclusion
Building a website is no easy task, but it’s a necessary part of any successful business. If you’re a photographer, you should definitely consider creating a website to showcase your work and get more clients. With the Divi theme, you can create a stunning portfolio website with ease. All you need is to follow a few simple steps and you’ll be well on your way to building a successful photography website. With a little bit of effort, your website can become a great source of new customers and revenue for your business.
If you’d like to learn more about Divi and its great features here is the Divi website – https://www.elegantthemes.com/gallery/divi/
If you need to automate the blog of your photography website, subscribe to our writing services.